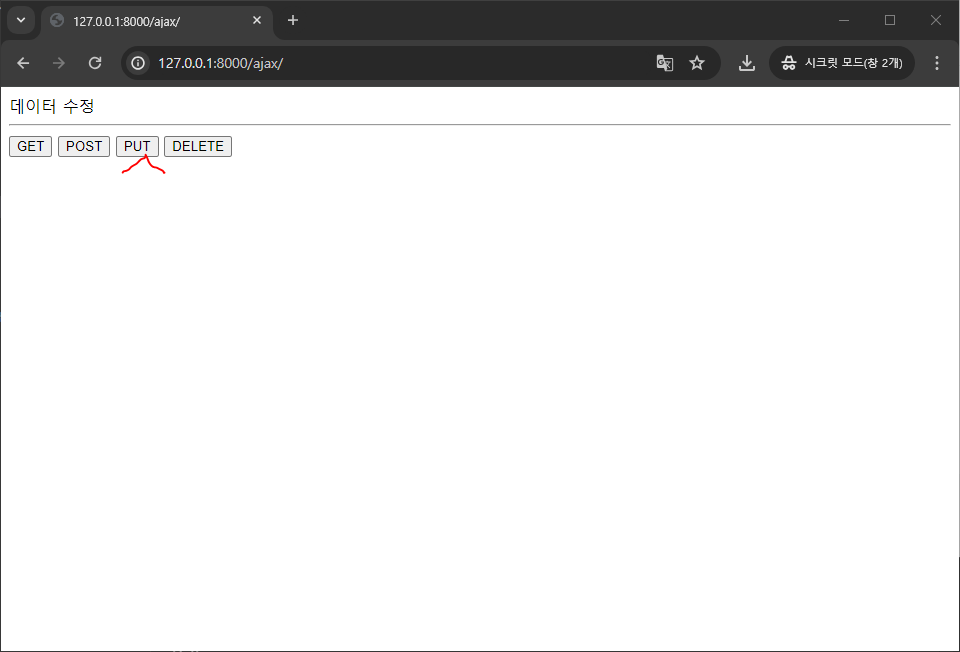
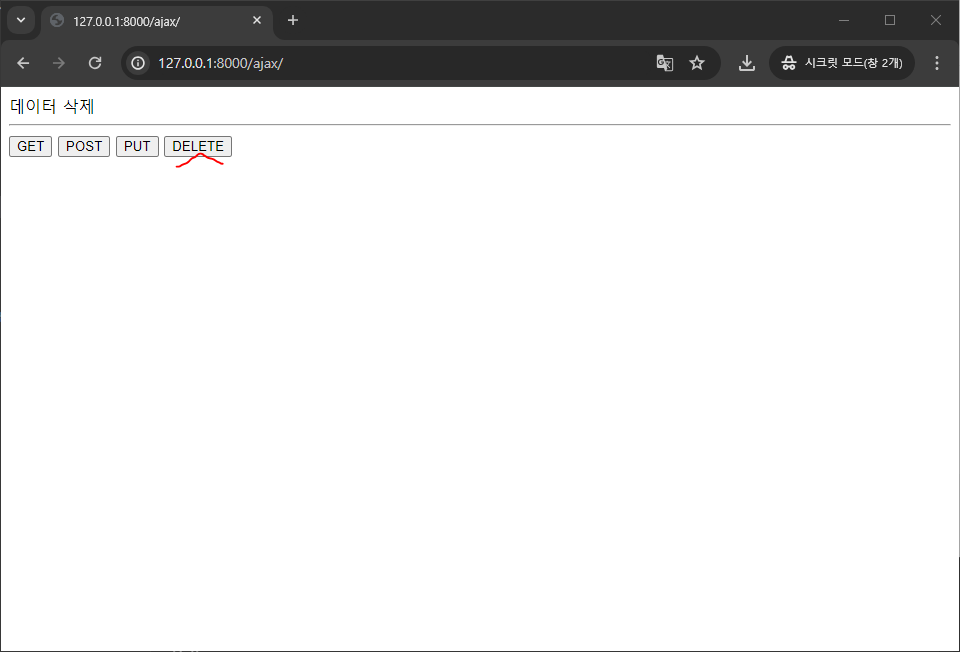
Spring 과 연동하여 서비스 구현
Welcome to Python.org
The official home of the Python Programming Language
www.python.org
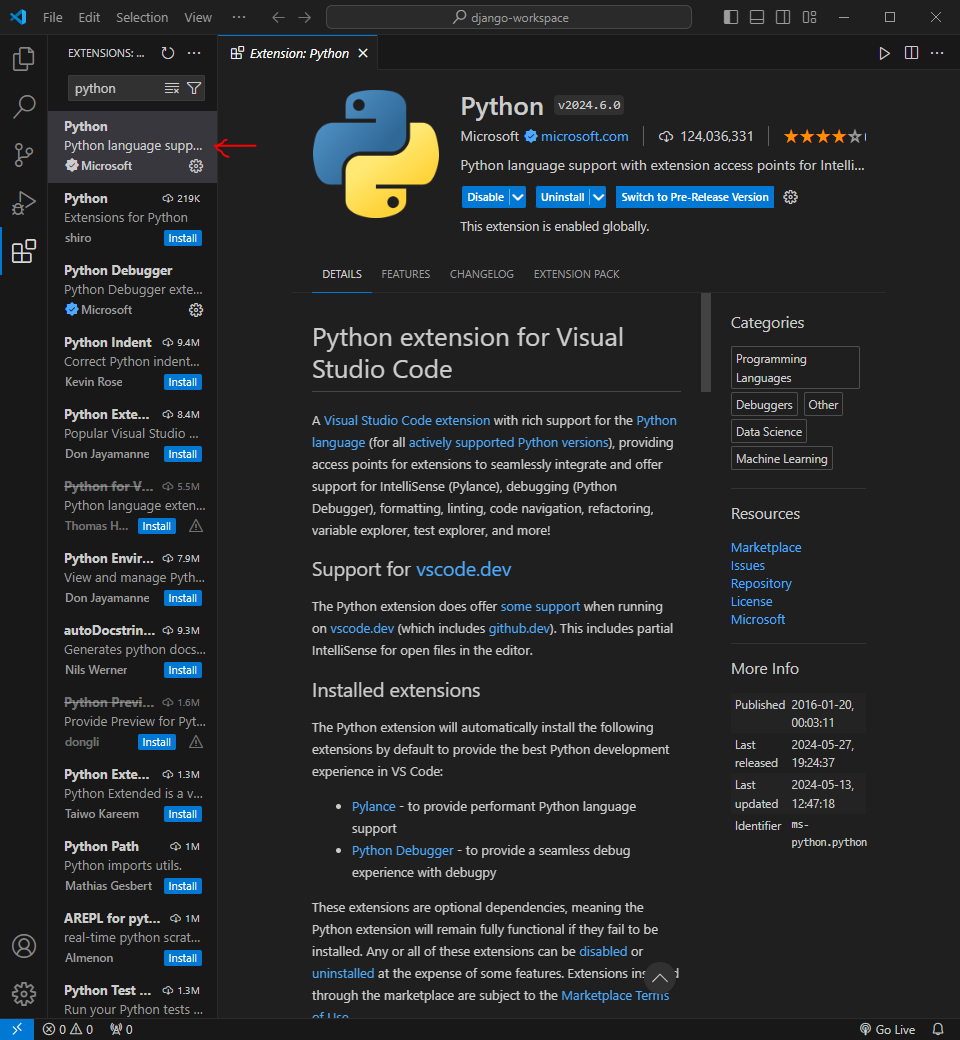
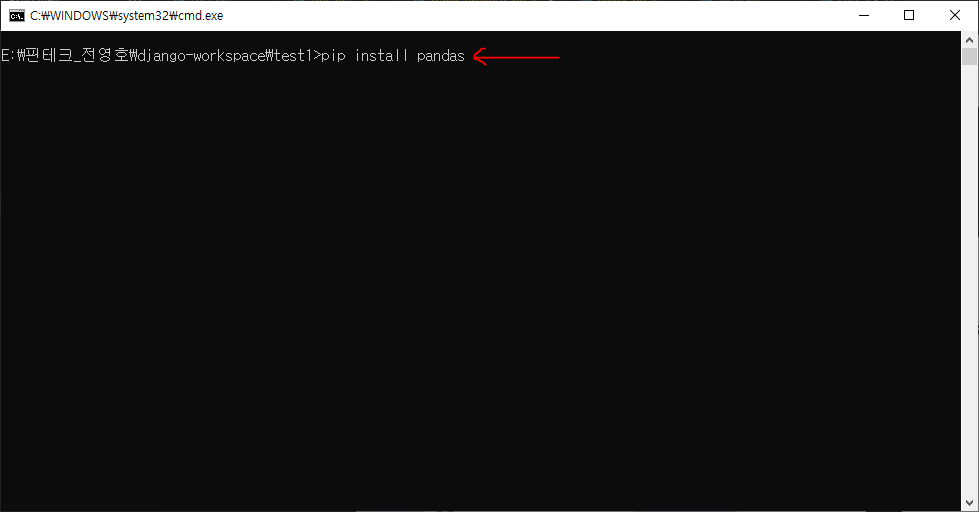
파이썬 설치

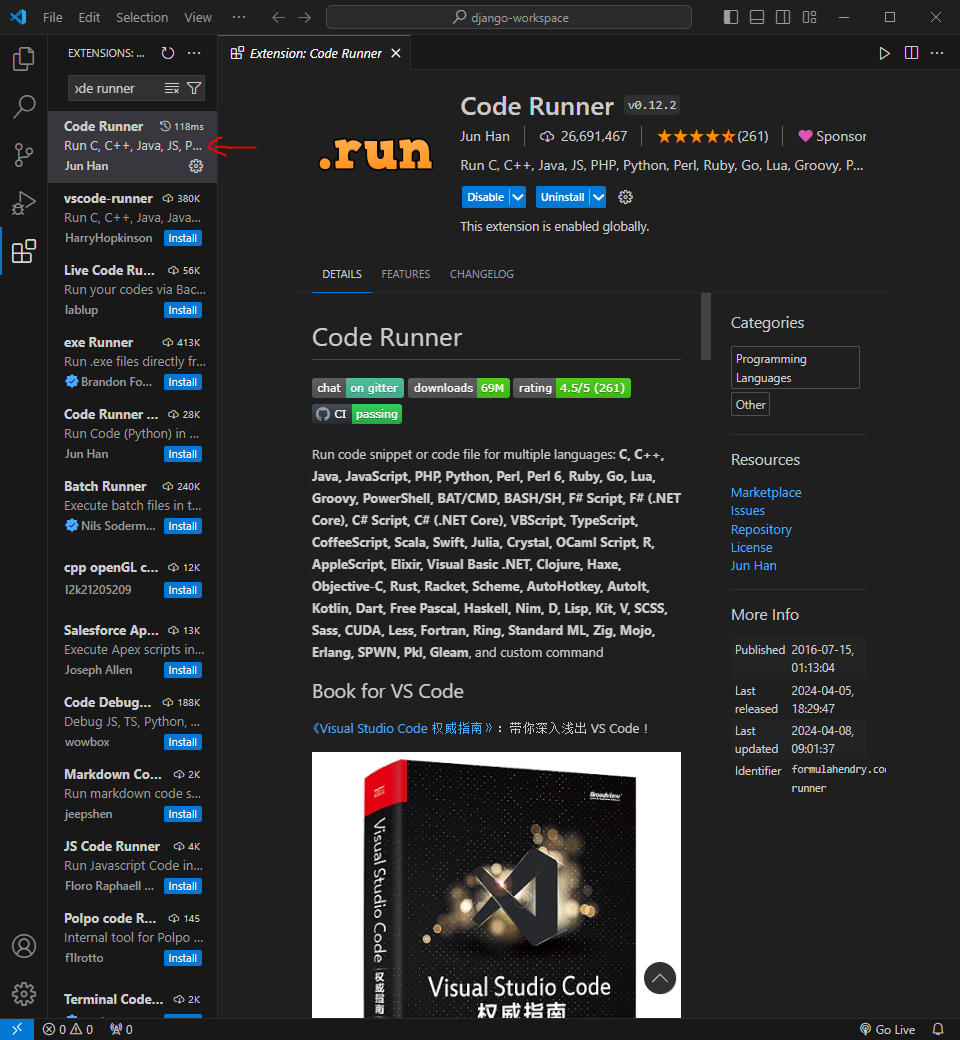
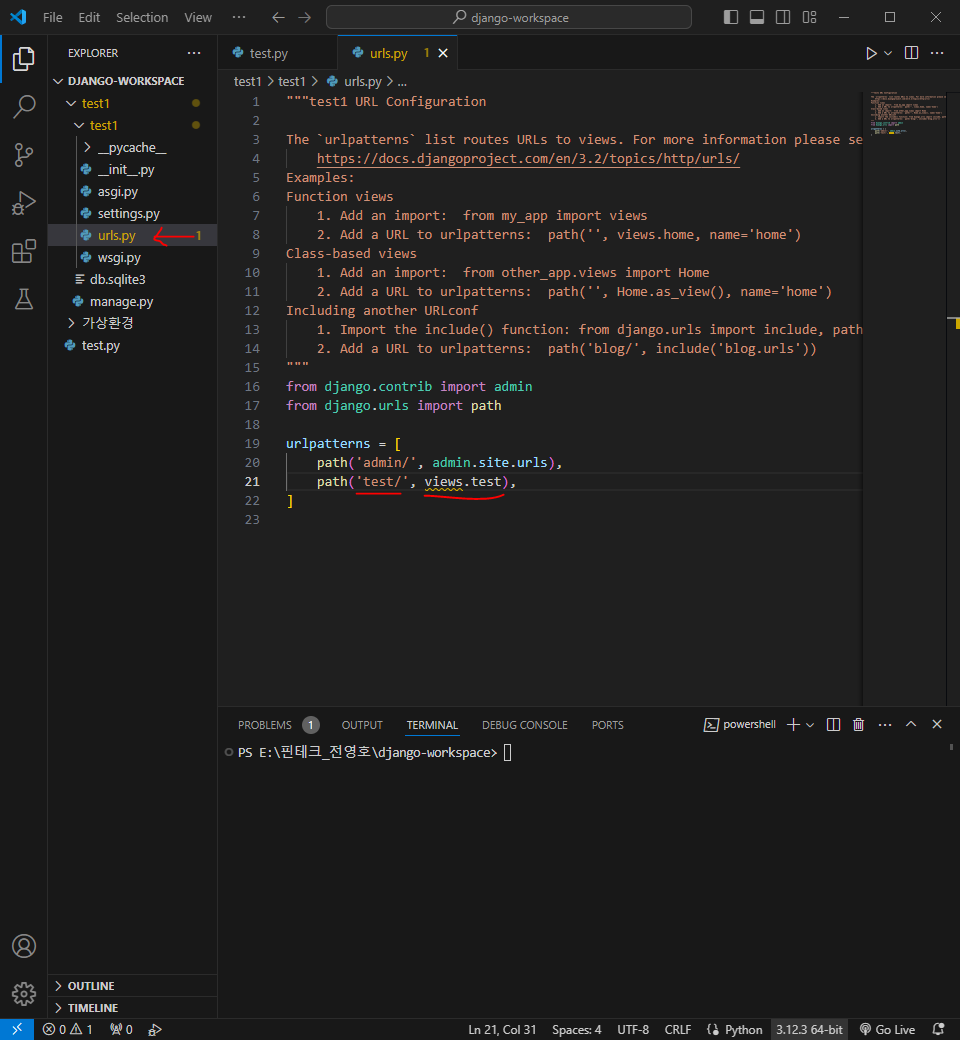
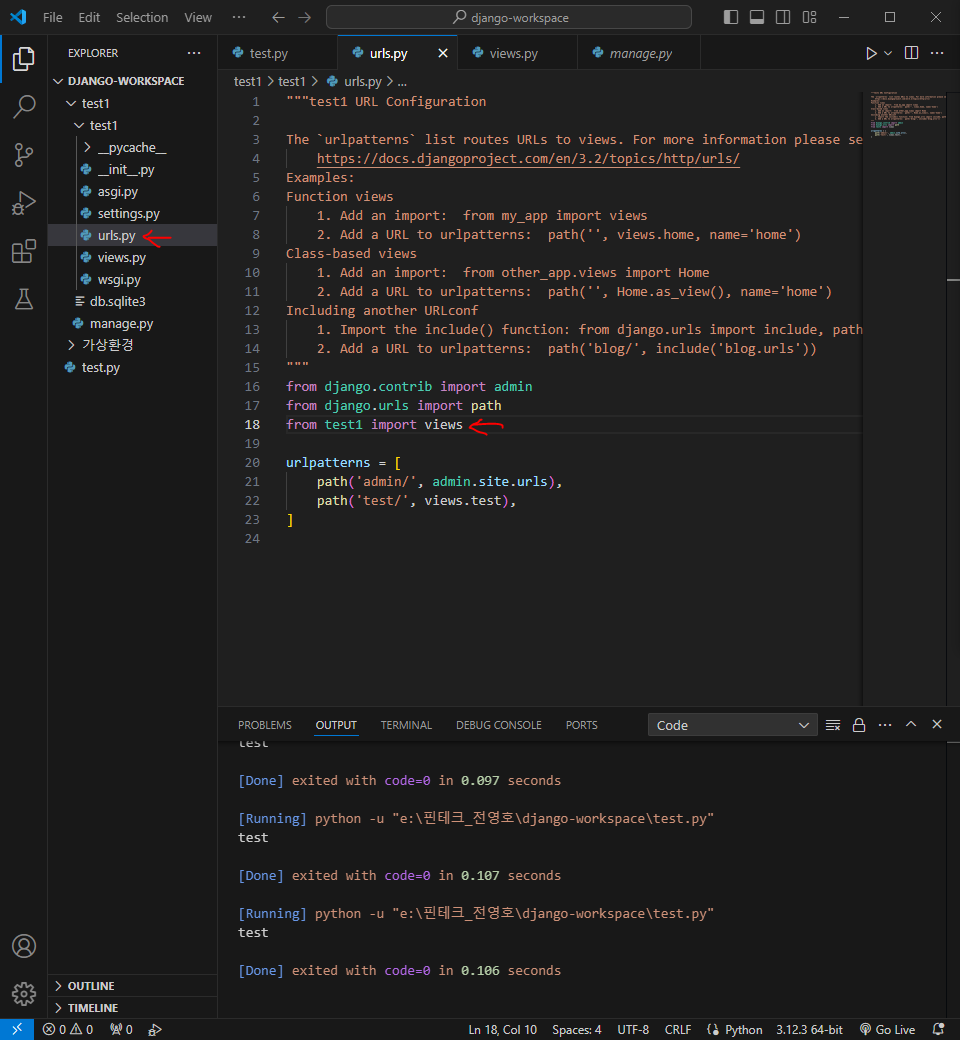
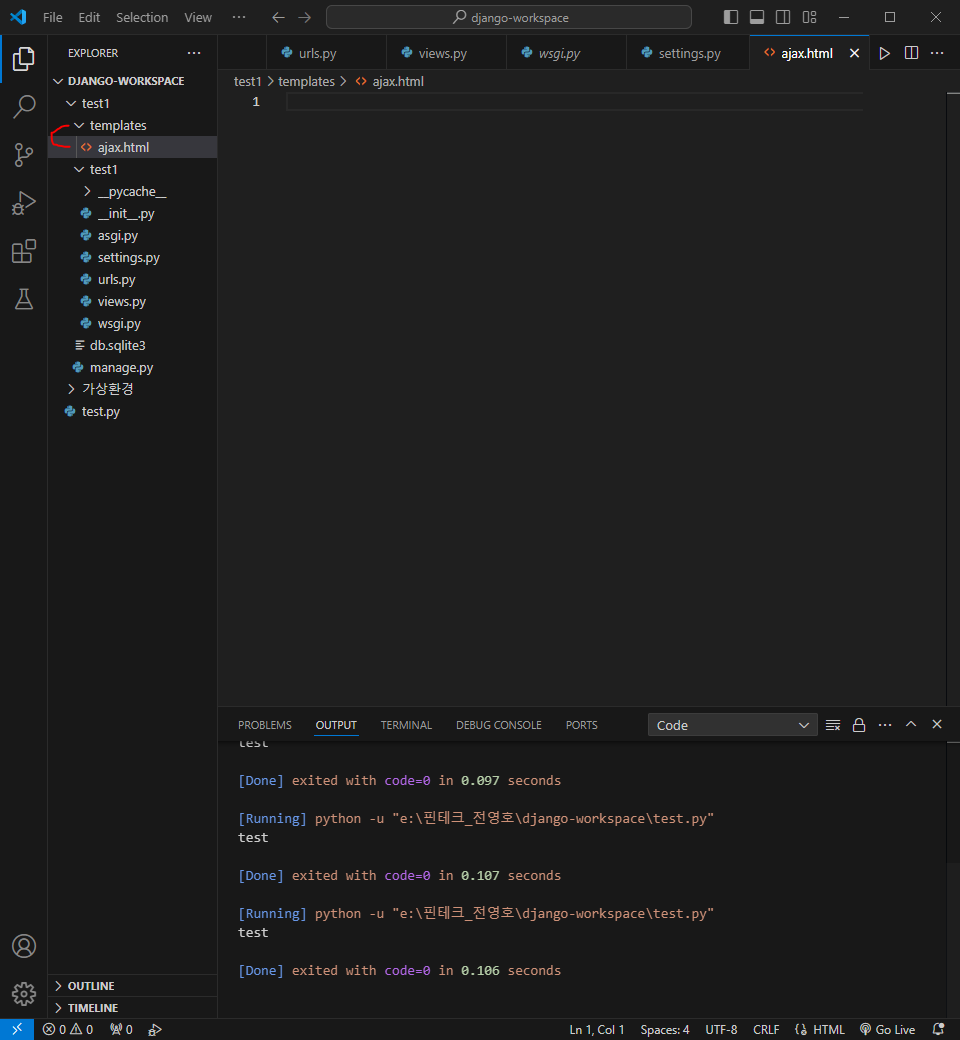
vscode 로 workspace 접속
google 에 사이킷런 모델 저장 검색
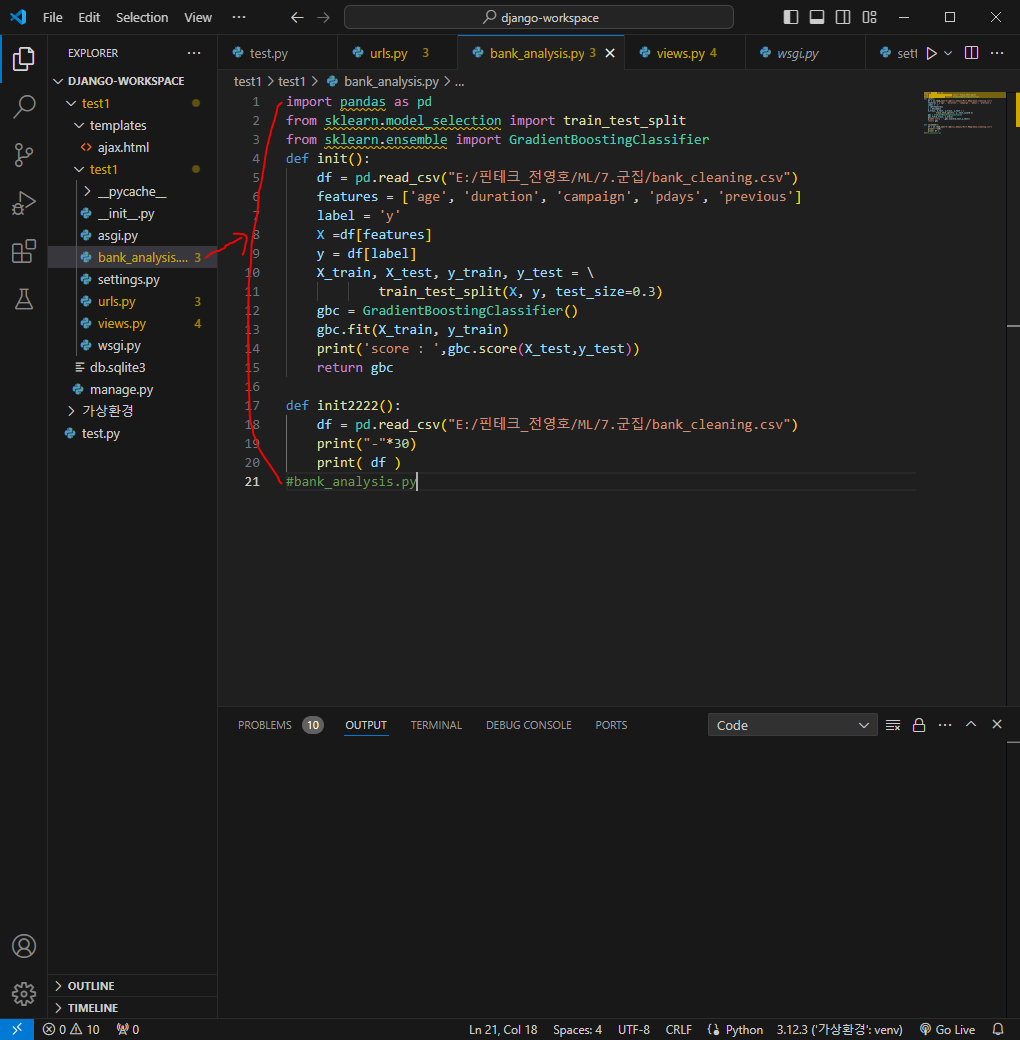
▲ 모델을 생성한 뒤 서버를 종료시켰다 다시 실행시키면 모델을 다시 학습시켜야 하기 때문에 모델을 파일로 저장해둔 뒤 사용 ▲

▲ 위 설정은 local 환경에 설치 ▲
가상환경으로 설치하여 관리하는 방법


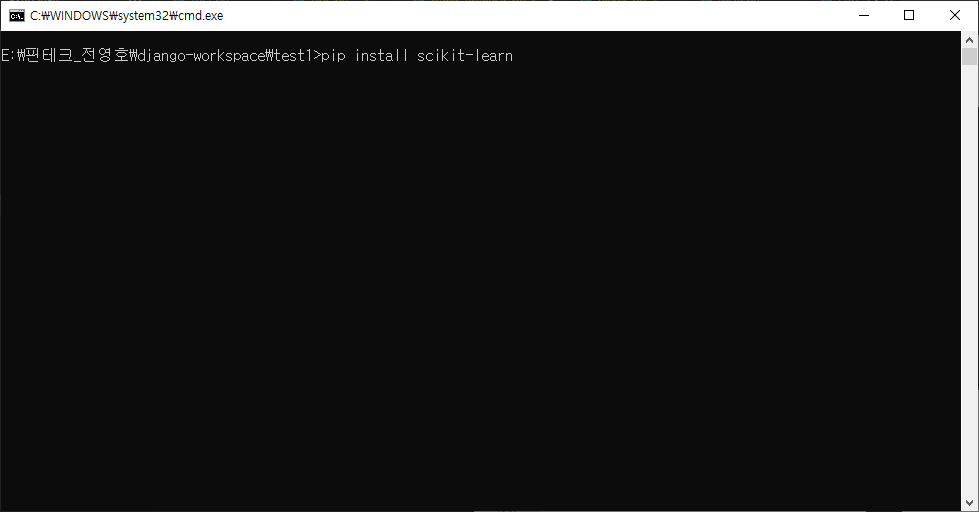
가상환경 내에서 pip install 을 사용해 가상환경 별로 각각 다른 버전의 라이브러리를 설치하여 관리할 수 있다


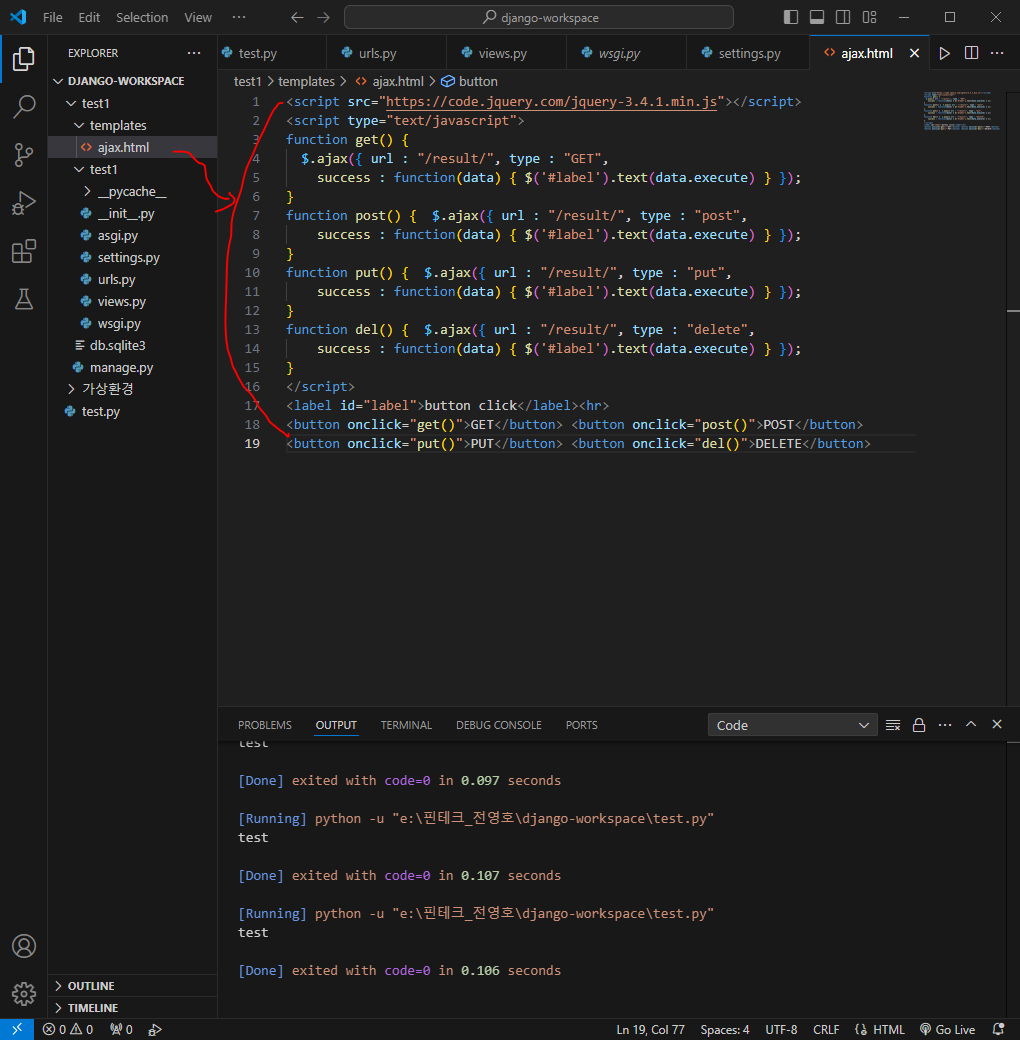
<script src="https://code.jquery.com/jquery-3.4.1.min.js"></script>
<script type="text/javascript">
function get() {
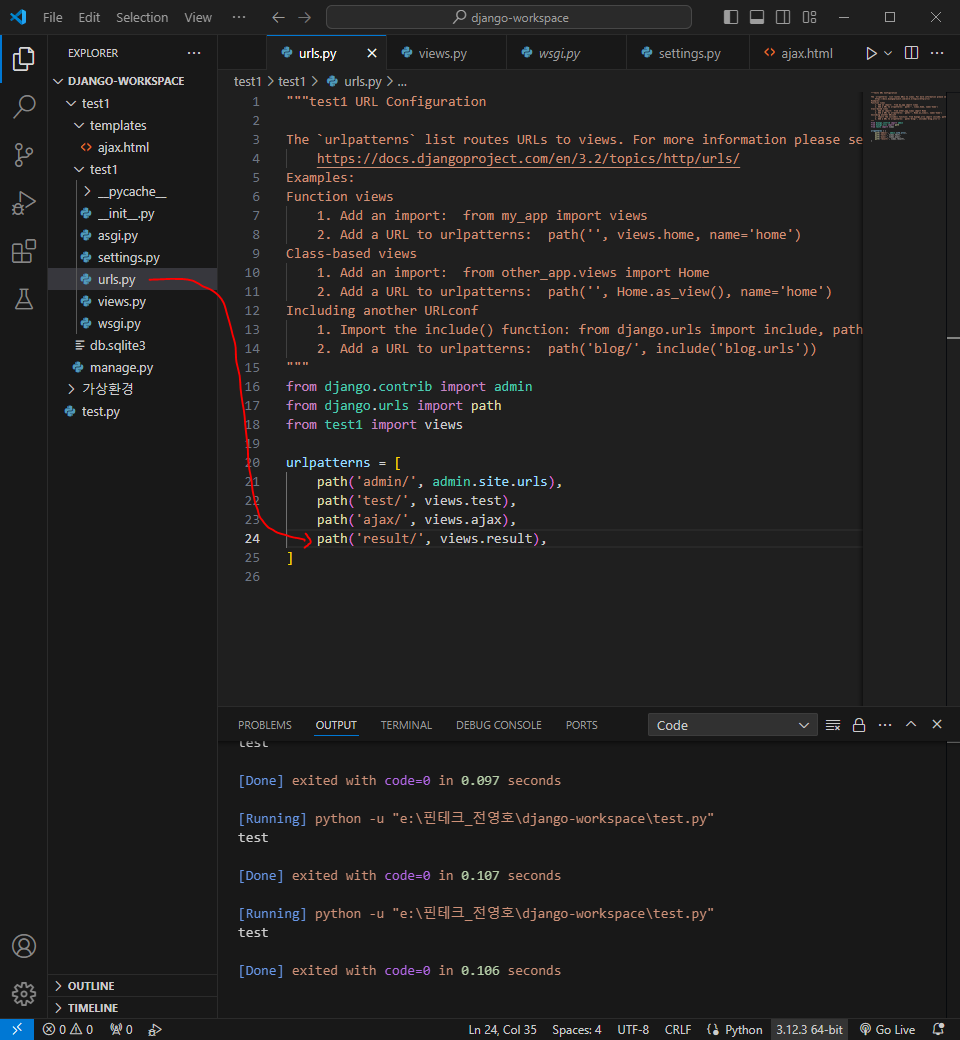
$.ajax({ url : "/result/", type : "GET",
success : function(data) { $('#label').text(data.execute) } });
}
function post() { $.ajax({ url : "/result/", type : "post",
success : function(data) { $('#label').text(data.execute) } });
}
function put() { $.ajax({ url : "/result/", type : "put",
success : function(data) { $('#label').text(data.execute) } });
}
function del() { $.ajax({ url : "/result/", type : "delete",
success : function(data) { $('#label').text(data.execute) } });
}
</script>
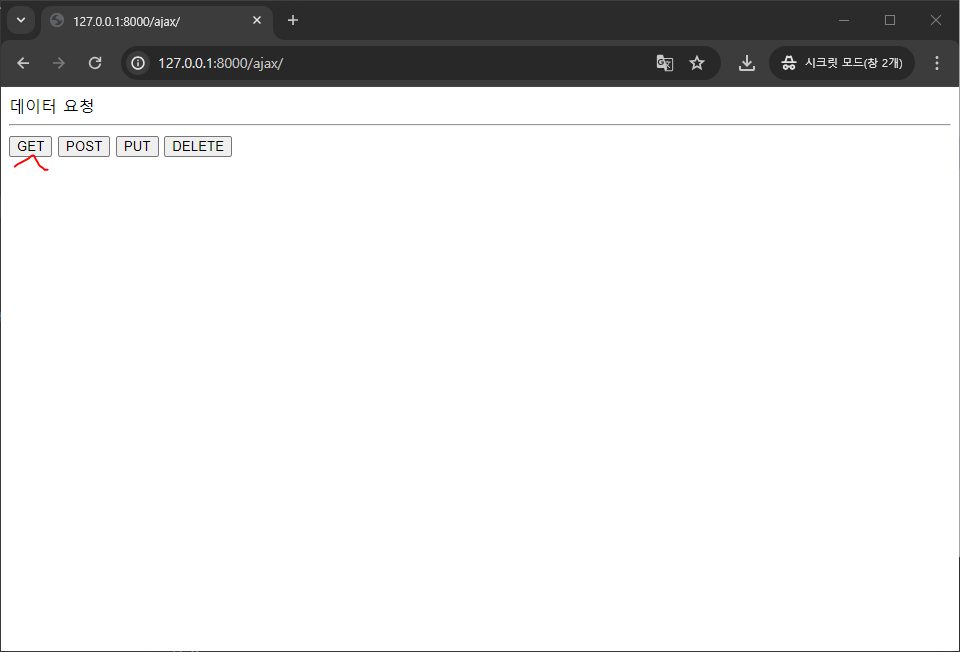
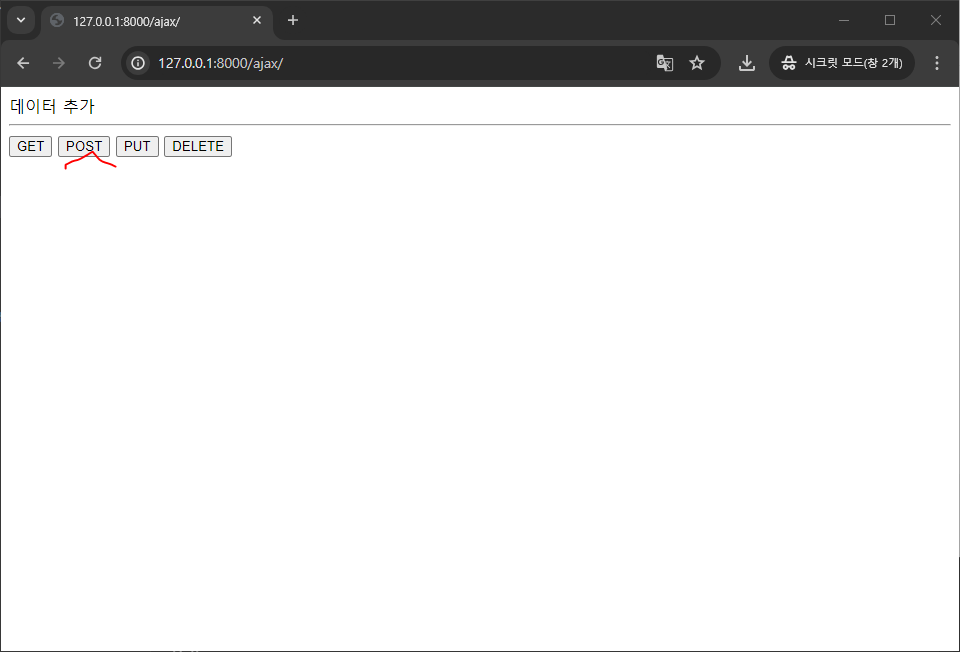
<label id="label">button click</label><hr>
<button onclick="get()">GET</button> <button onclick="post()">POST</button>
<button onclick="put()">PUT</button> <button onclick="del()">DELETE</button>


접속하면 에러가 뜨는데 이유는 서로 다른 서버에 데이터를 요청하게되면 에러가 발생함...!!!
이 에러를 해결해주기 위해선 라이브러리 설치가 필요하다

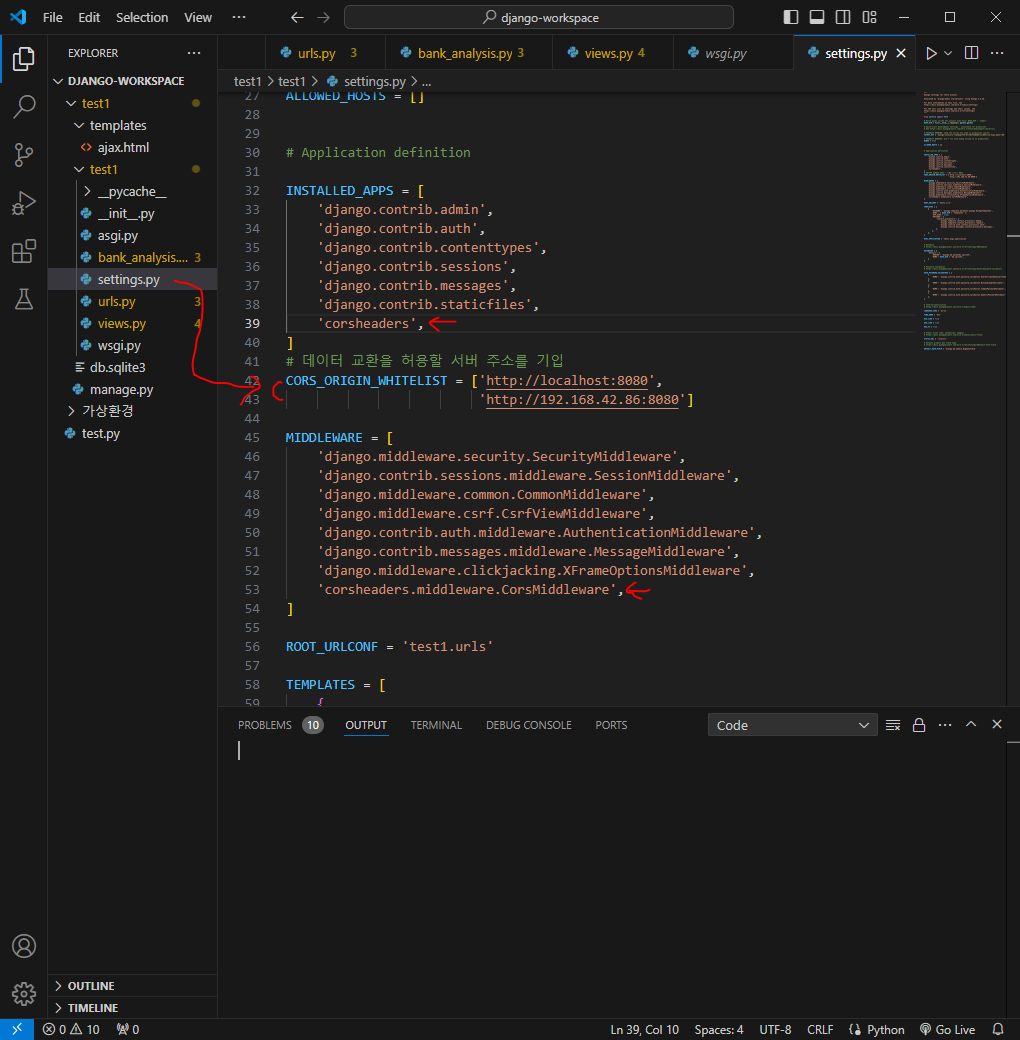
CORS(Cross-Origin Resource Sharing) : 서로 다른 서버들 끼리 데이터를 주고 받으려 할때 발생하는 오류
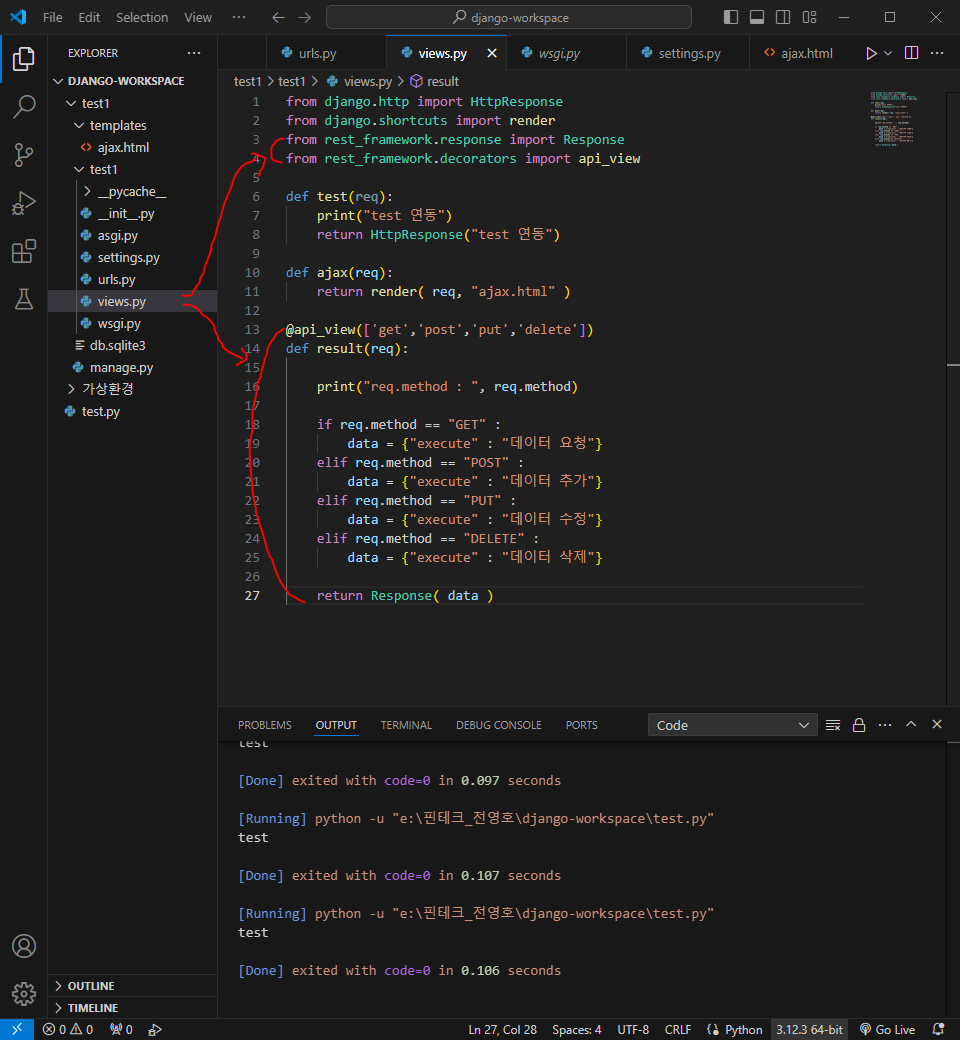
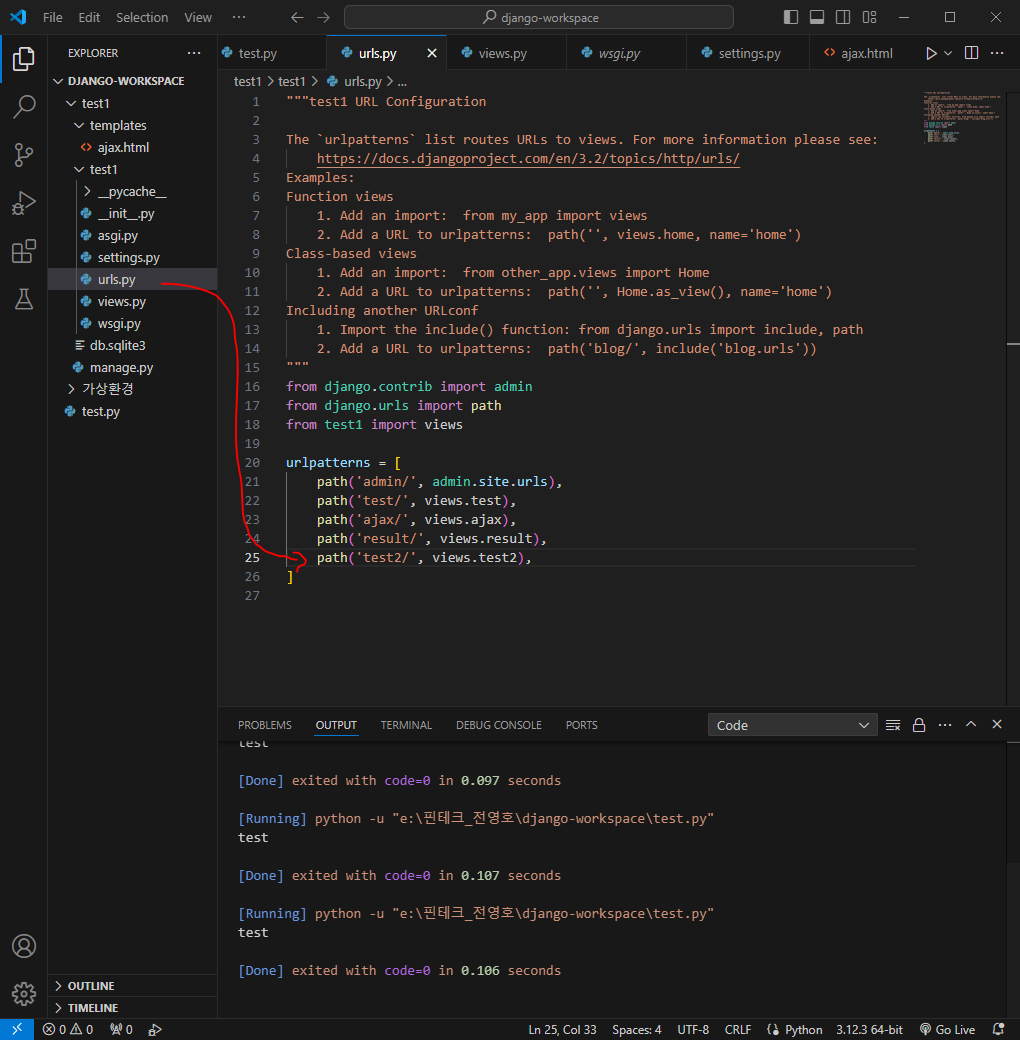
이제부터 데이터를 요청하고 응답하면 된다
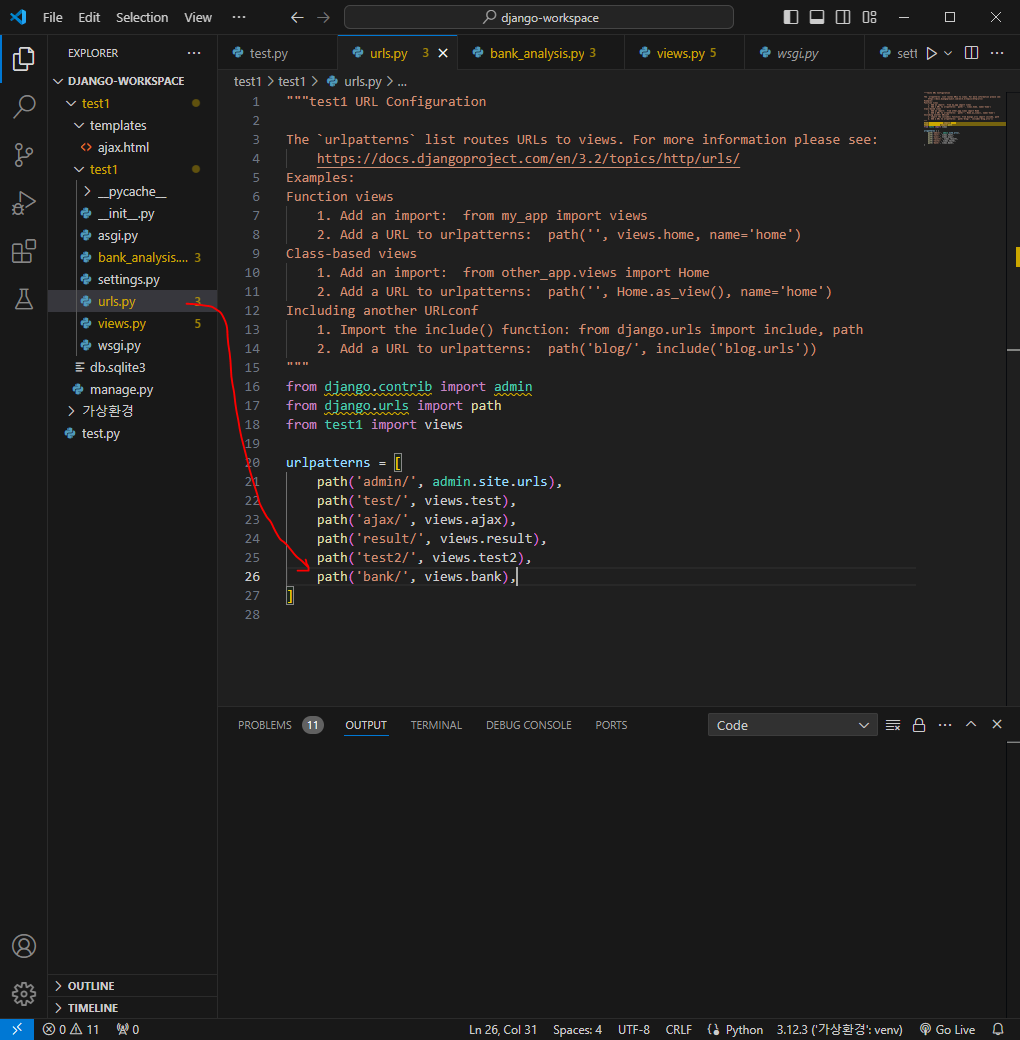
대출이 가능한지 가능하지 않은지 확인하는 부분을 구현해볼 것임
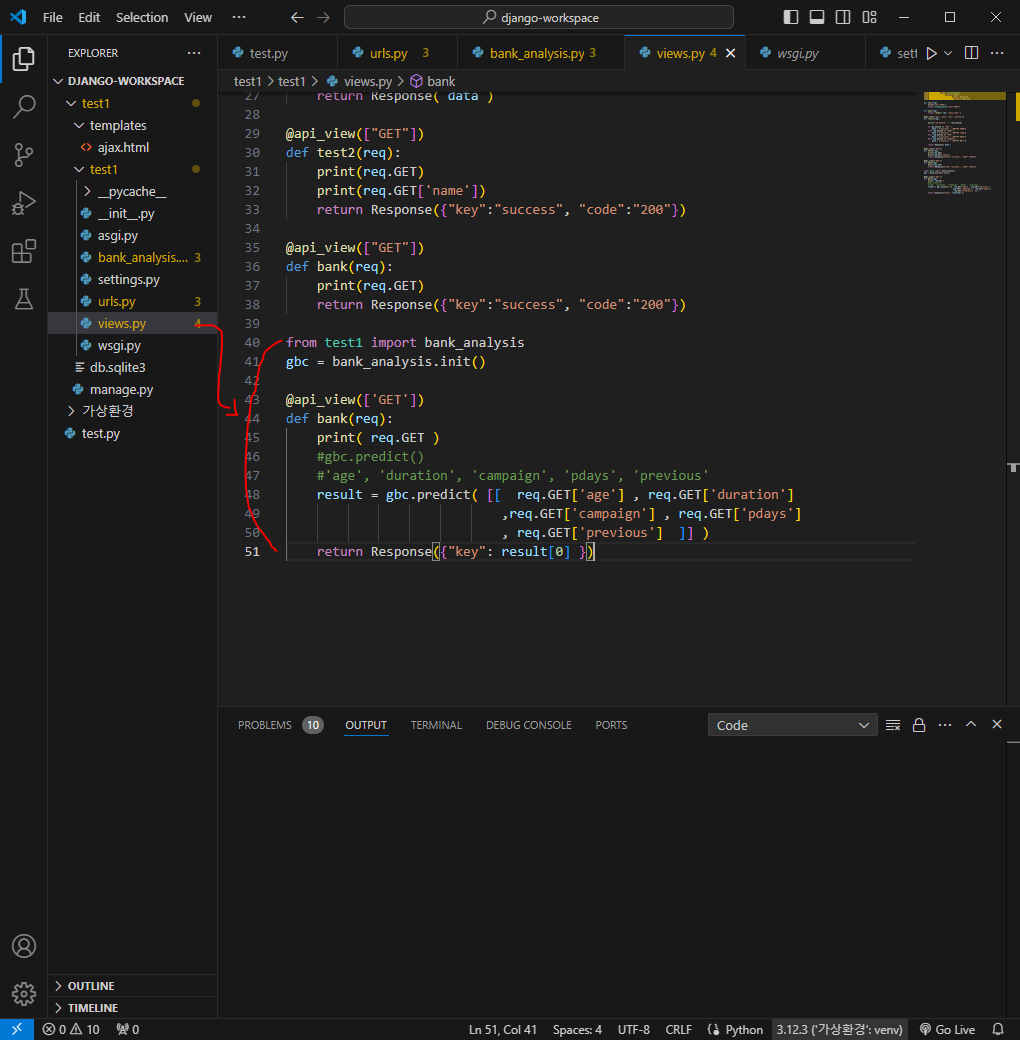

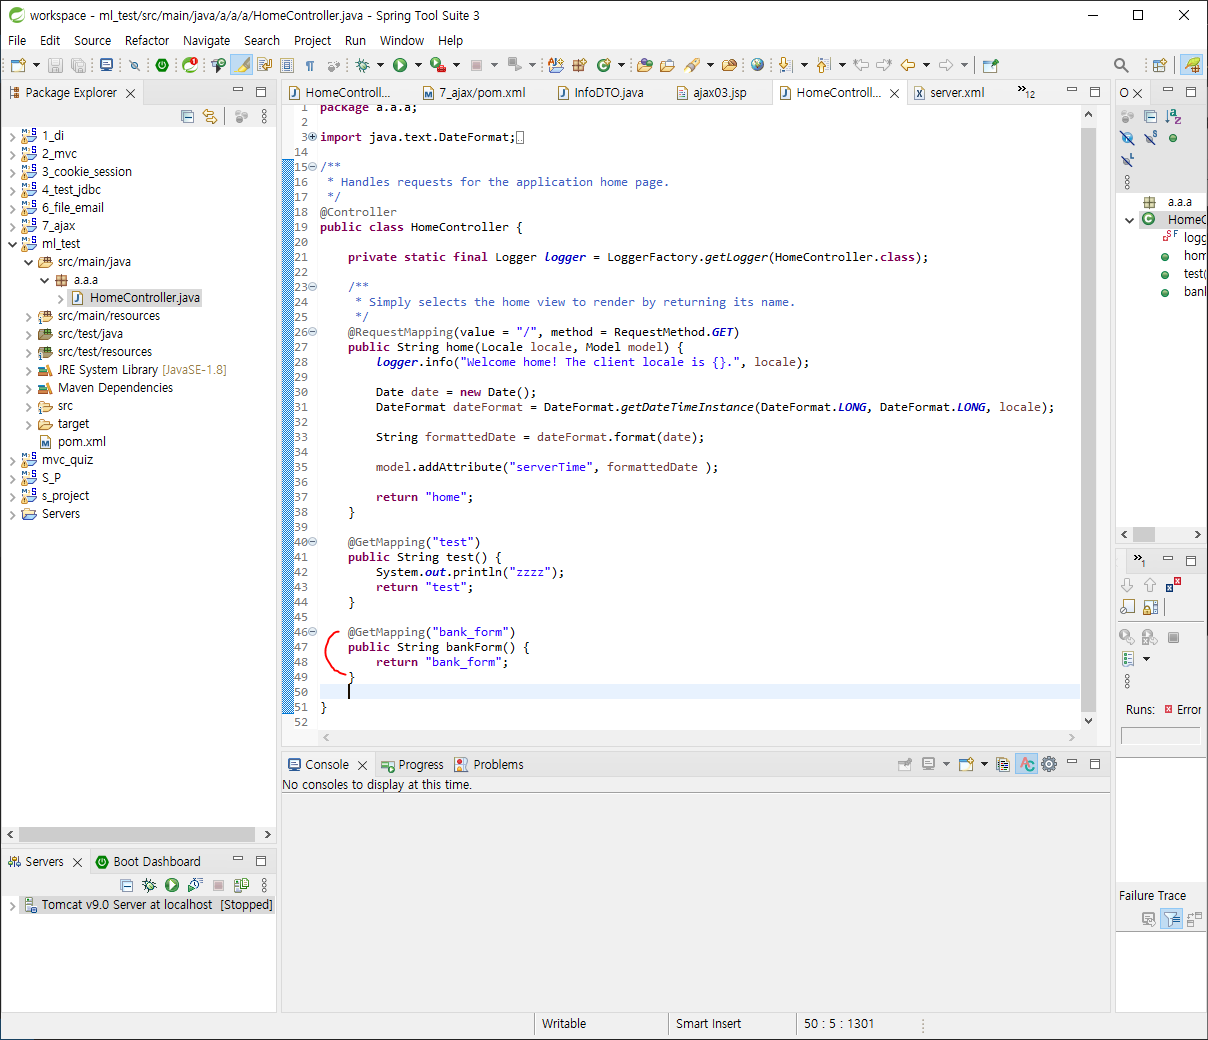
이제 스프링 코드 작성
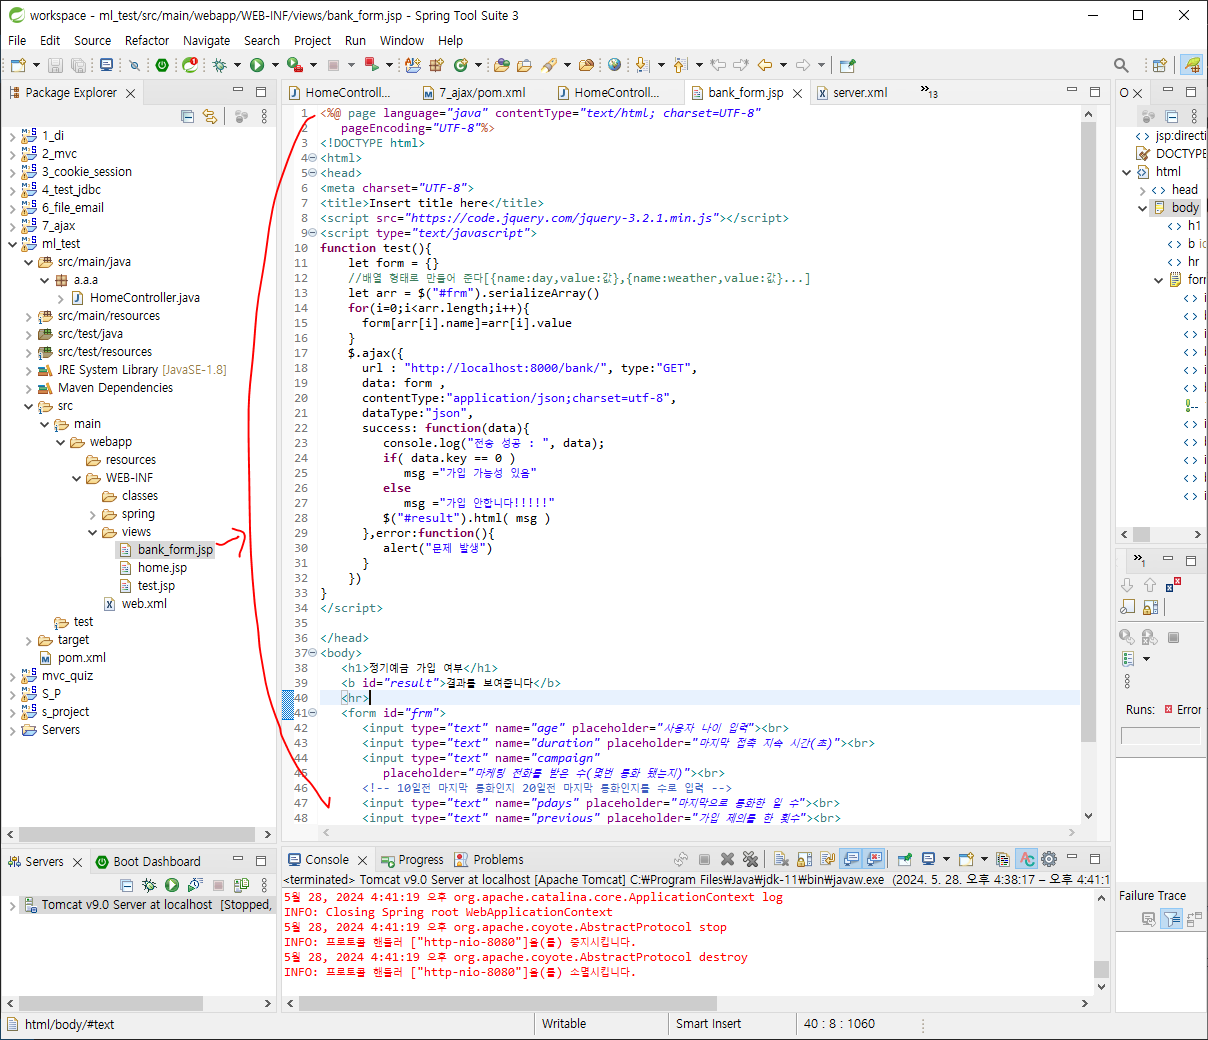
<%@ page language="java" contentType="text/html; charset=UTF-8"
pageEncoding="UTF-8"%>
<!DOCTYPE html>
<html>
<head>
<meta charset="UTF-8">
<title>Insert title here</title>
<script src="https://code.jquery.com/jquery-3.2.1.min.js"></script>
<script type="text/javascript">
function test(){
let form = {}
//배열 형태로 만들어 준다[{name:day,value:값},{name:weather,value:값}...]
let arr = $("#frm").serializeArray()
for(i=0;i<arr.length;i++){
form[arr[i].name]=arr[i].value
}
$.ajax({
url : "http://localhost:8000/bank/", type:"GET",
data: form ,
contentType:"application/json;charset=utf-8",
dataType:"json",
success: function(data){
console.log("전송 성공 : ", data);
if( data.key == 0 )
msg ="가입 가능성 있음"
else
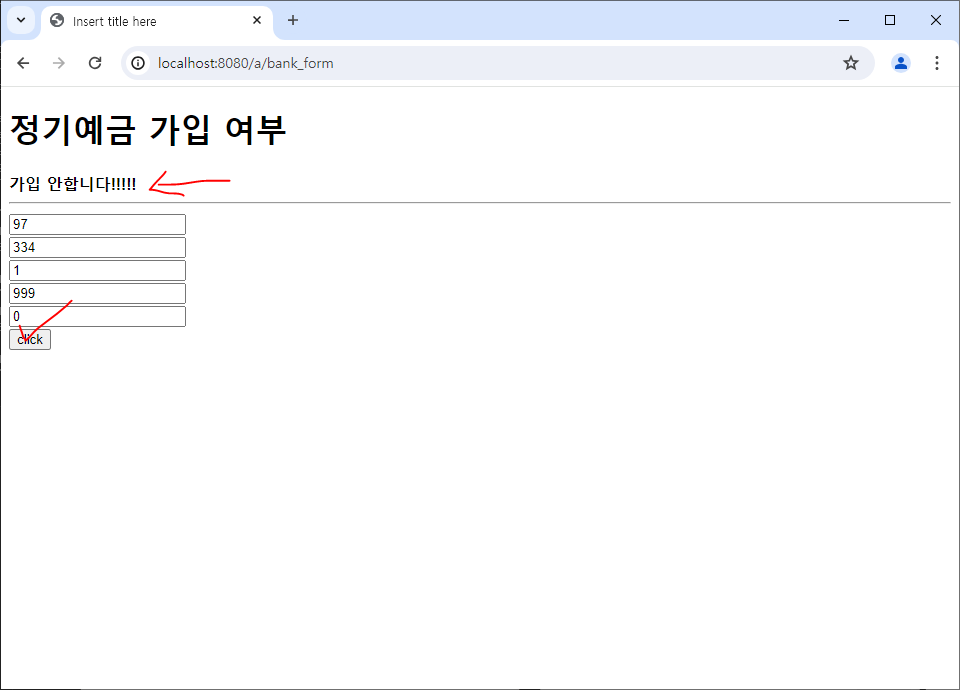
msg ="가입 안합니다!!!!!"
$("#result").html( msg )
},error:function(){
alert("문제 발생")
}
})
}
</script>
</head>
<body>
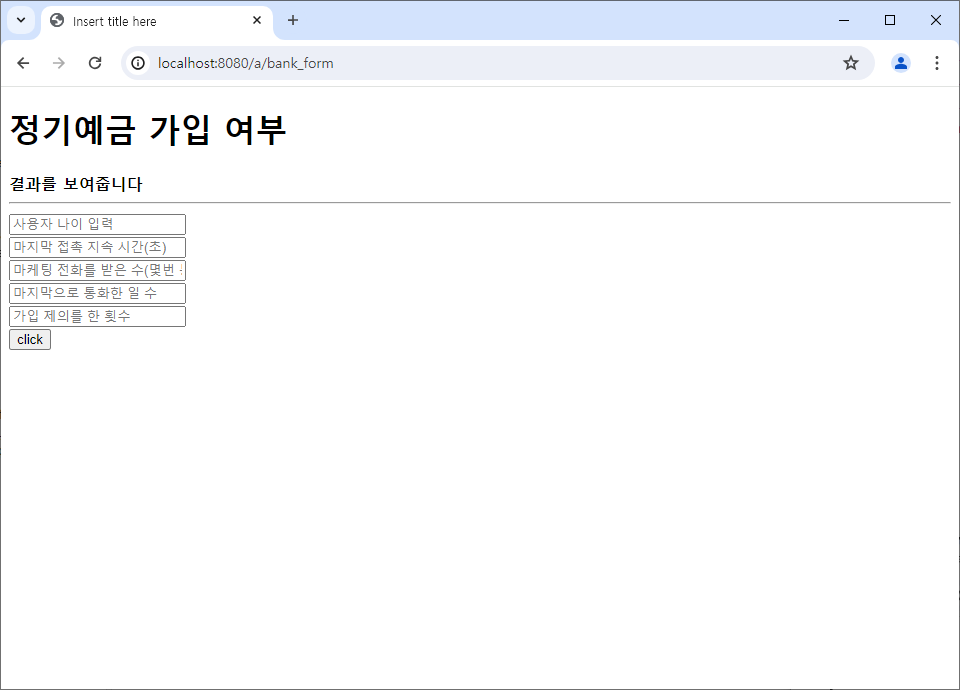
<h1>정기예금 가입 여부</h1>
<b id="result">결과를 보여줍니다</b>
<hr>
<form id="frm">
<input type="text" name="age" placeholder="사용자 나이 입력"><br>
<input type="text" name="duration" placeholder="마지막 접촉 지속 시간(초)"><br>
<input type="text" name="campaign"
placeholder="마케팅 전화를 받은 수(몇번 통화 됐는지)"><br>
<!-- 10일전 마지막 통화인지 20일전 마지막 통화인지를 수로 입력 -->
<input type="text" name="pdays" placeholder="마지막으로 통화한 일 수"><br>
<input type="text" name="previous" placeholder="가입 제의를 한 횟수"><br>
<input type="button" onclick="test()" value="click">
</form>
</body>
</html>
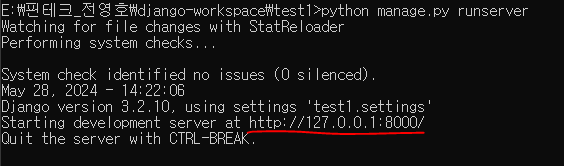
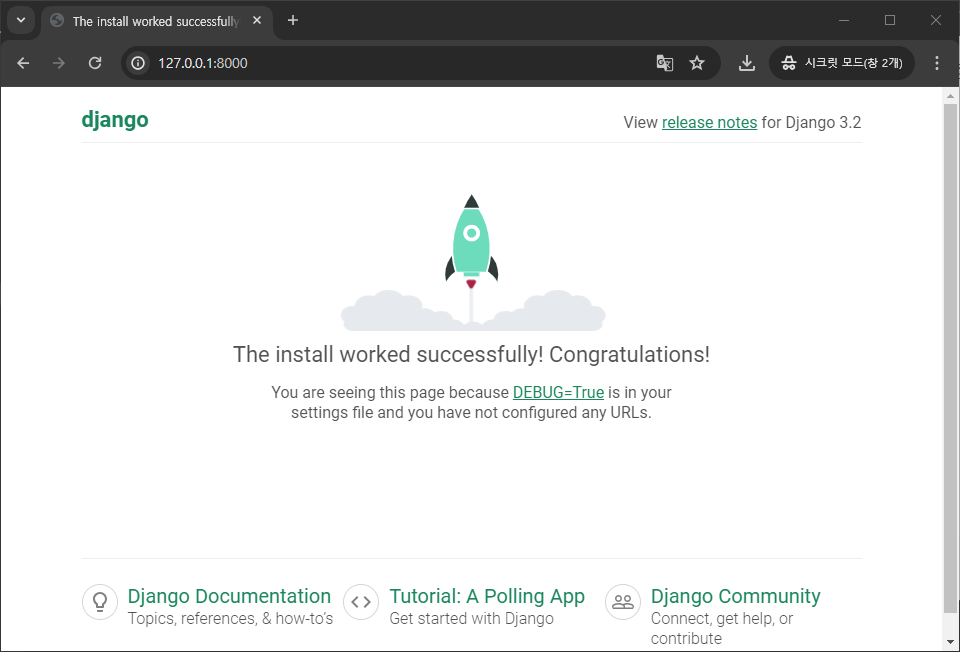
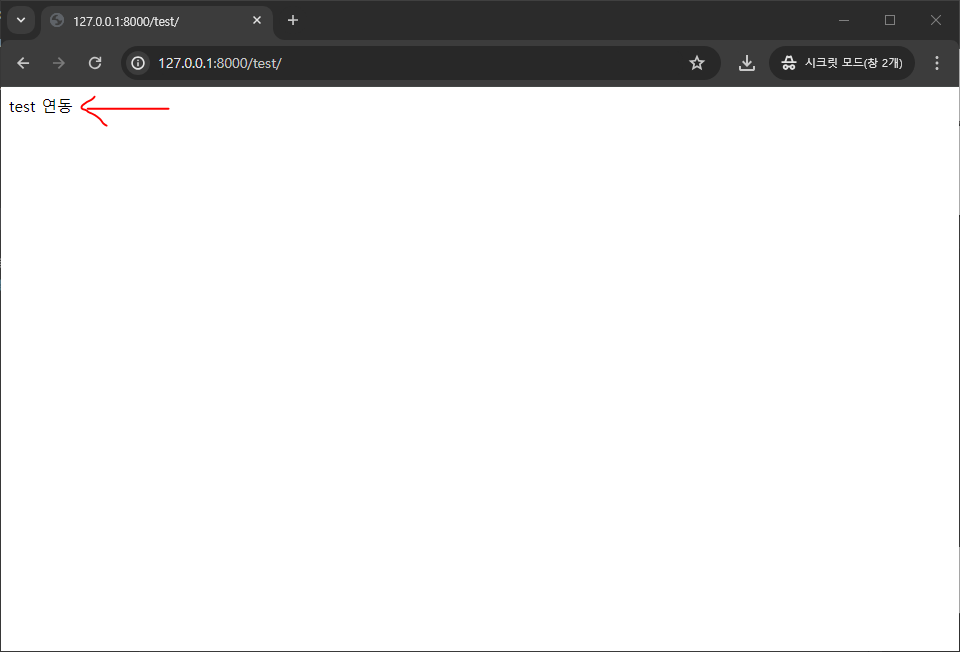
spring 서버 실행 후 경로 접속

▼ 세부 코드 ▼
ml_test : spring 파일
test_1 : vscode 파일 ( python )